Safe Earwax Removal: Your Ultimate Guide to Clean Ears at Home
Earwax buildup can drive anyone crazy.
Those annoying blockages that make hearing feel like you’re underwater aren’t just uncomfortable — they’re a total pain to deal with.
But here’s the good news: you can safely remove earwax at home without risking damage to your ears.

Why Earwax Removal Matters
Earwax isn’t just gross — it’s actually protective.
Our ears are basically self-cleaning machines that naturally manage wax buildup.
But sometimes, things get a little out of hand and you need some gentle intervention.
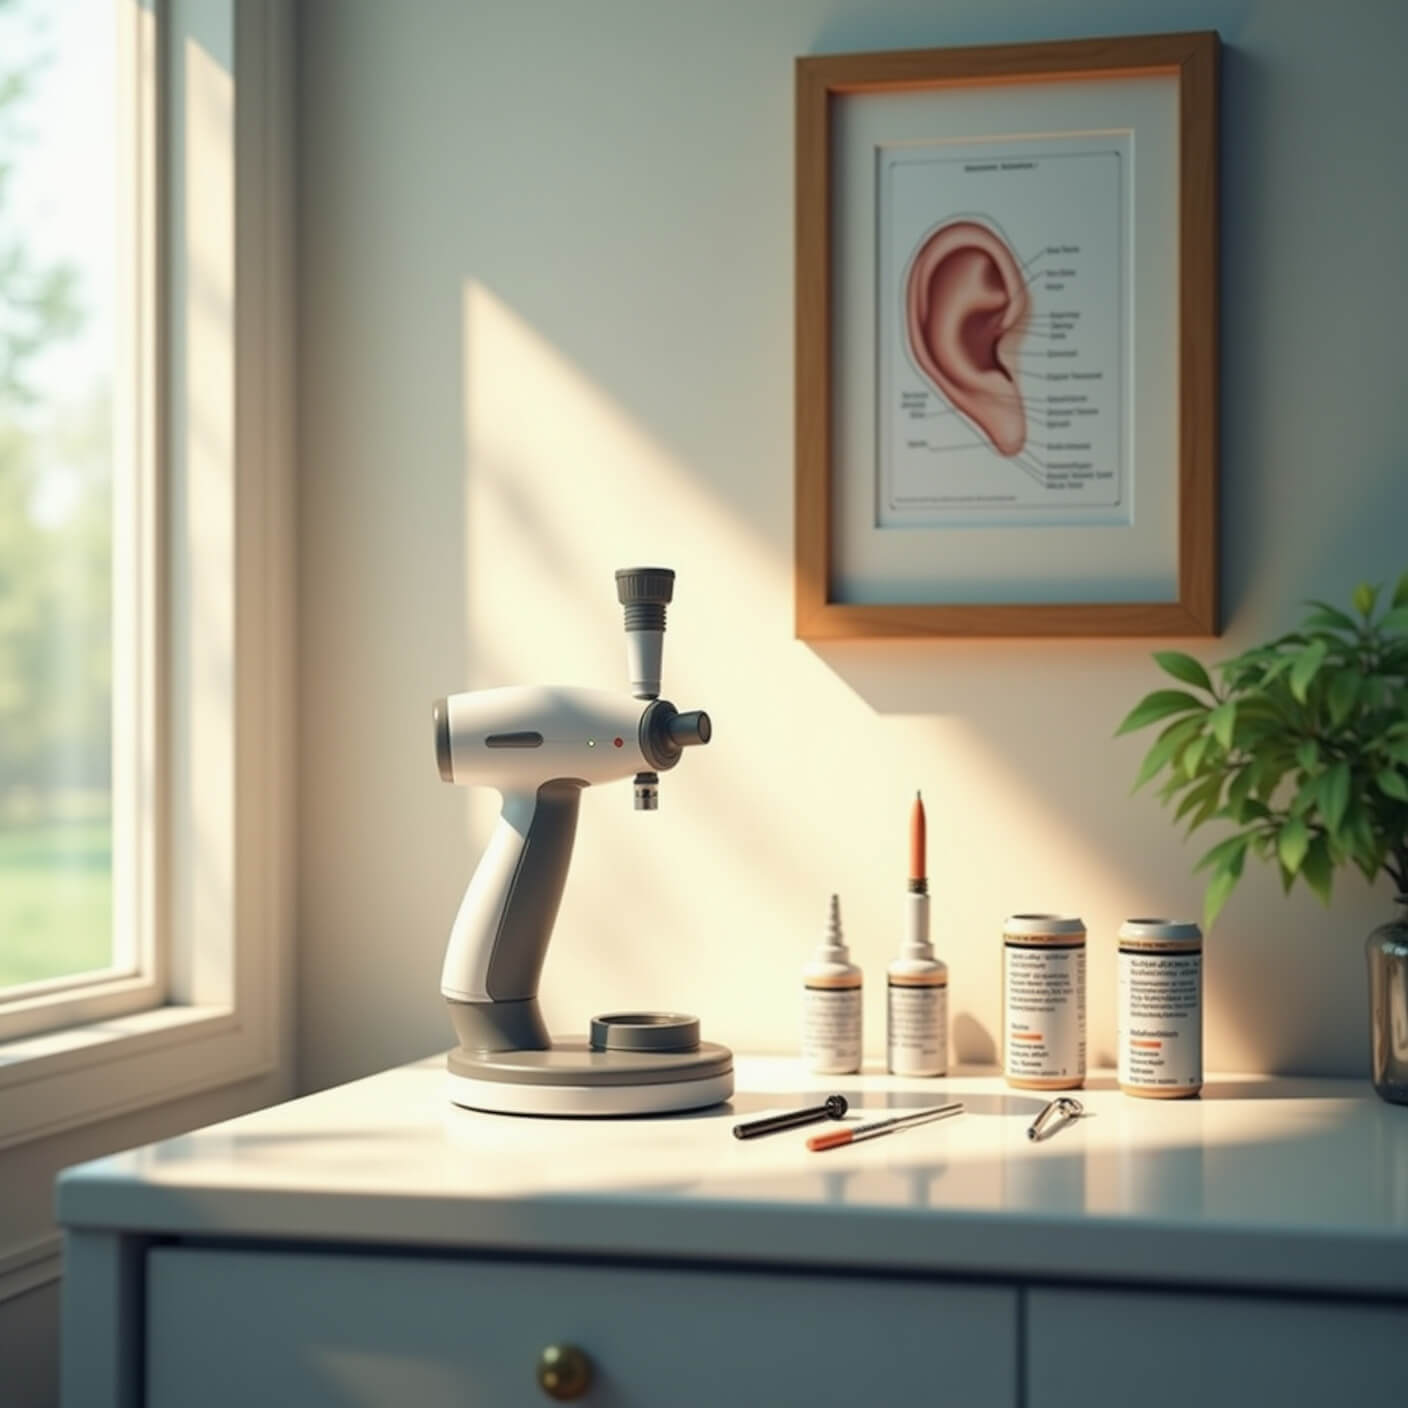
What You’ll Need for Safe Earwax Removal
Grab these supplies before getting started:
- Hydrogen peroxide
- Mineral or olive oil
- Bulb syringe
- Warm water
- Clean towel
- Dropper (optional)
The Dos and Don’ts of Earwax Removal
🚫 What NOT to Do
Absolutely avoid:
- Cotton swabs (they push wax deeper!)
- Ear candles (dangerous and ineffective)
- Sharp objects
- Aggressive cleaning techniques
✅ Safe Removal Steps
Step 1: Soften the Wax
- Use a few drops of hydrogen peroxide or mineral oil
- Let it sit for 5-10 minutes
- Tilt your head to help the solution work
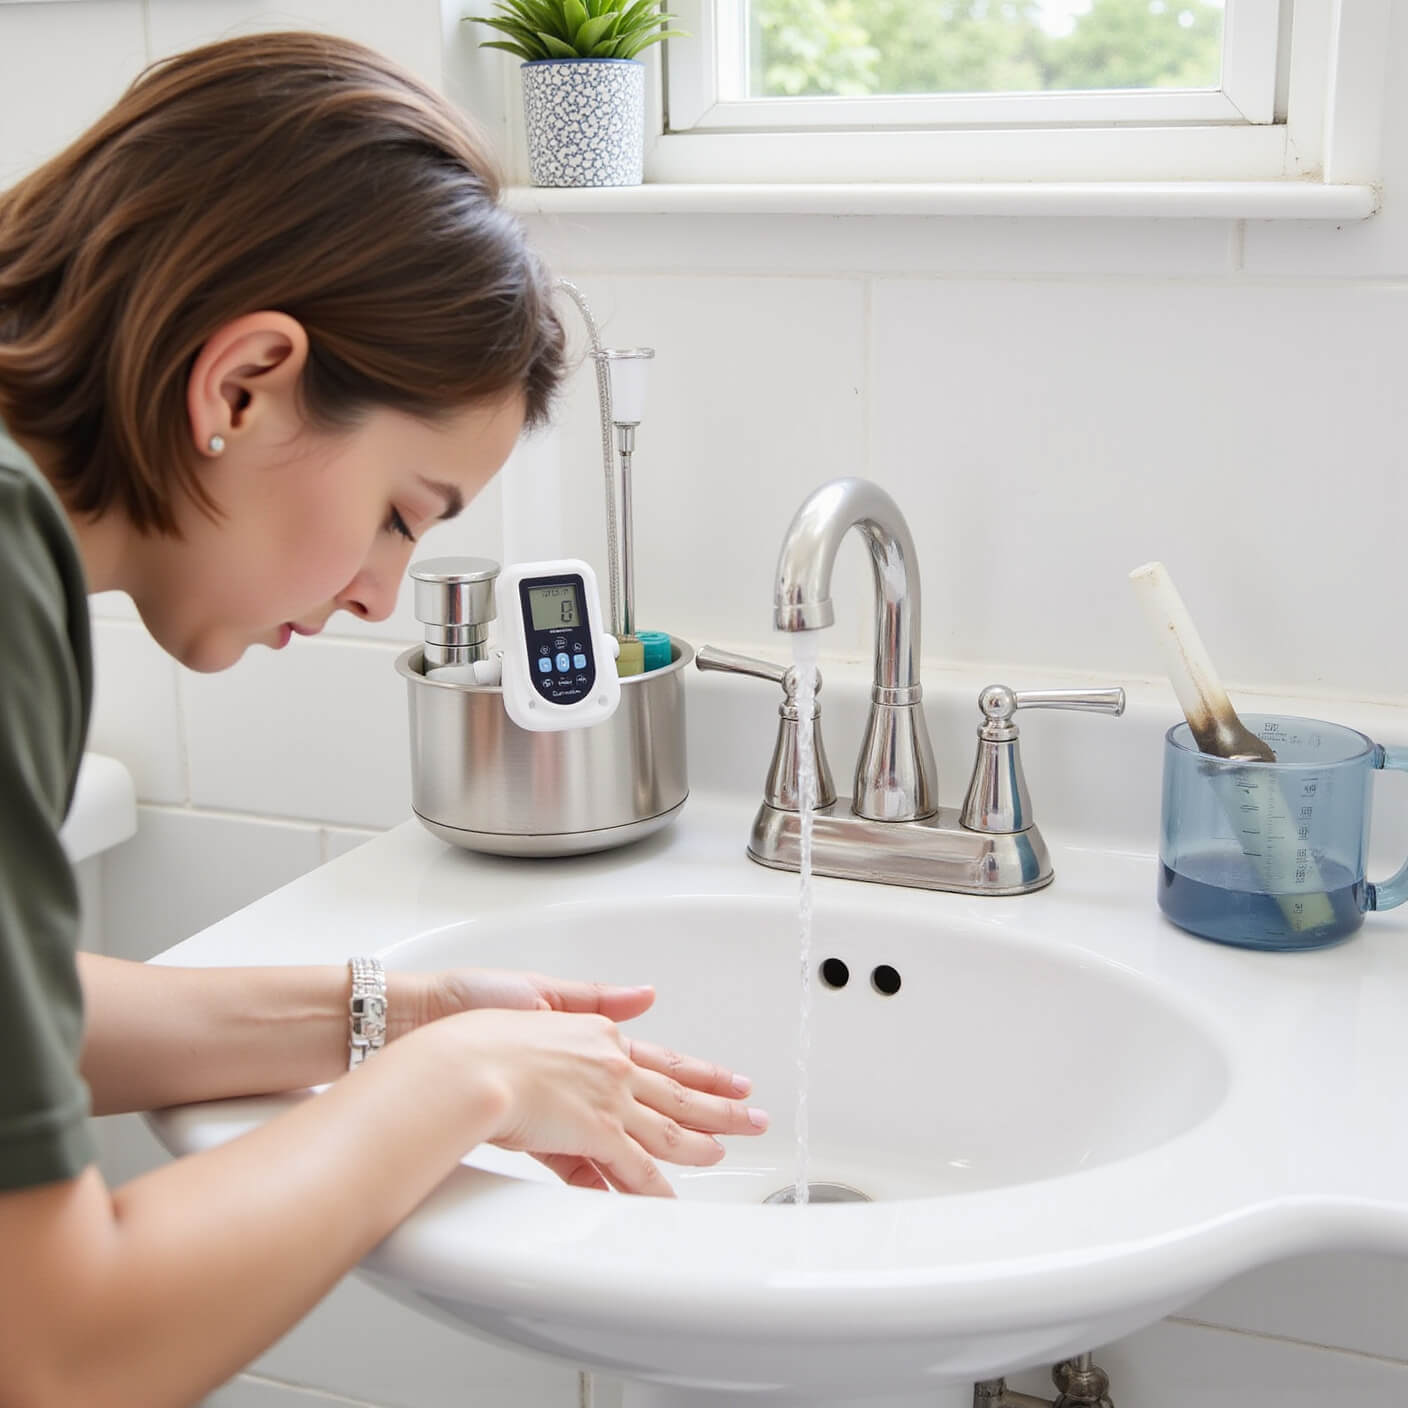
Step 2: Gentle Irrigation
- Use a bulb syringe with warm (not hot) water
- Gently flush the ear canal
- Let gravity help remove softened wax
Step 3: Dry Carefully
- Use a clean towel
- Gently pat the outer ear
- Avoid pushing anything inside the ear canal
When to See a Professional
Red flags that mean “doctor time”:
- Persistent ear pain
- Hearing loss
- Dizziness
- Drainage or unusual discharge
Pro Tips for Ear Health
- Clean ears weekly
- Be gentle
- Use lukewarm water
- Listen to your body
Common Mistakes to Avoid
Rookie errors that can damage your ears:
- Using cotton swabs inside the ear
- Irrigating with cold water
- Cleaning too aggressively
- Ignoring persistent symptoms
The Science Behind Earwax
Earwax (cerumen) is actually a protective substance.
It traps dust, prevents infections, and keeps your ear canal lubricated.
Your body is pretty smart about managing it — most of the time, you don’t need to do much.

Final Thoughts
Ear health doesn’t have to be complicated.
With these simple steps, you can keep your ears clean, comfortable, and functioning perfectly.
Remember: when in doubt, ask a healthcare professional.
Stay safe, stay clean, and keep those ears happy! 🔊
Disclaimer: This guide is for informational purposes. Always consult healthcare professionals for personalized medical advice.