My night cream habit started as marketing, but a plain moisturizer at bedtime did quiet the morning tightness. Fancy claims aside, hydration is the win. A simple cream I’d actually use beat the elaborate one. Skin likes routine.
DIY Night Creams: Your Skin’s Secret Weapon for Glowing Health
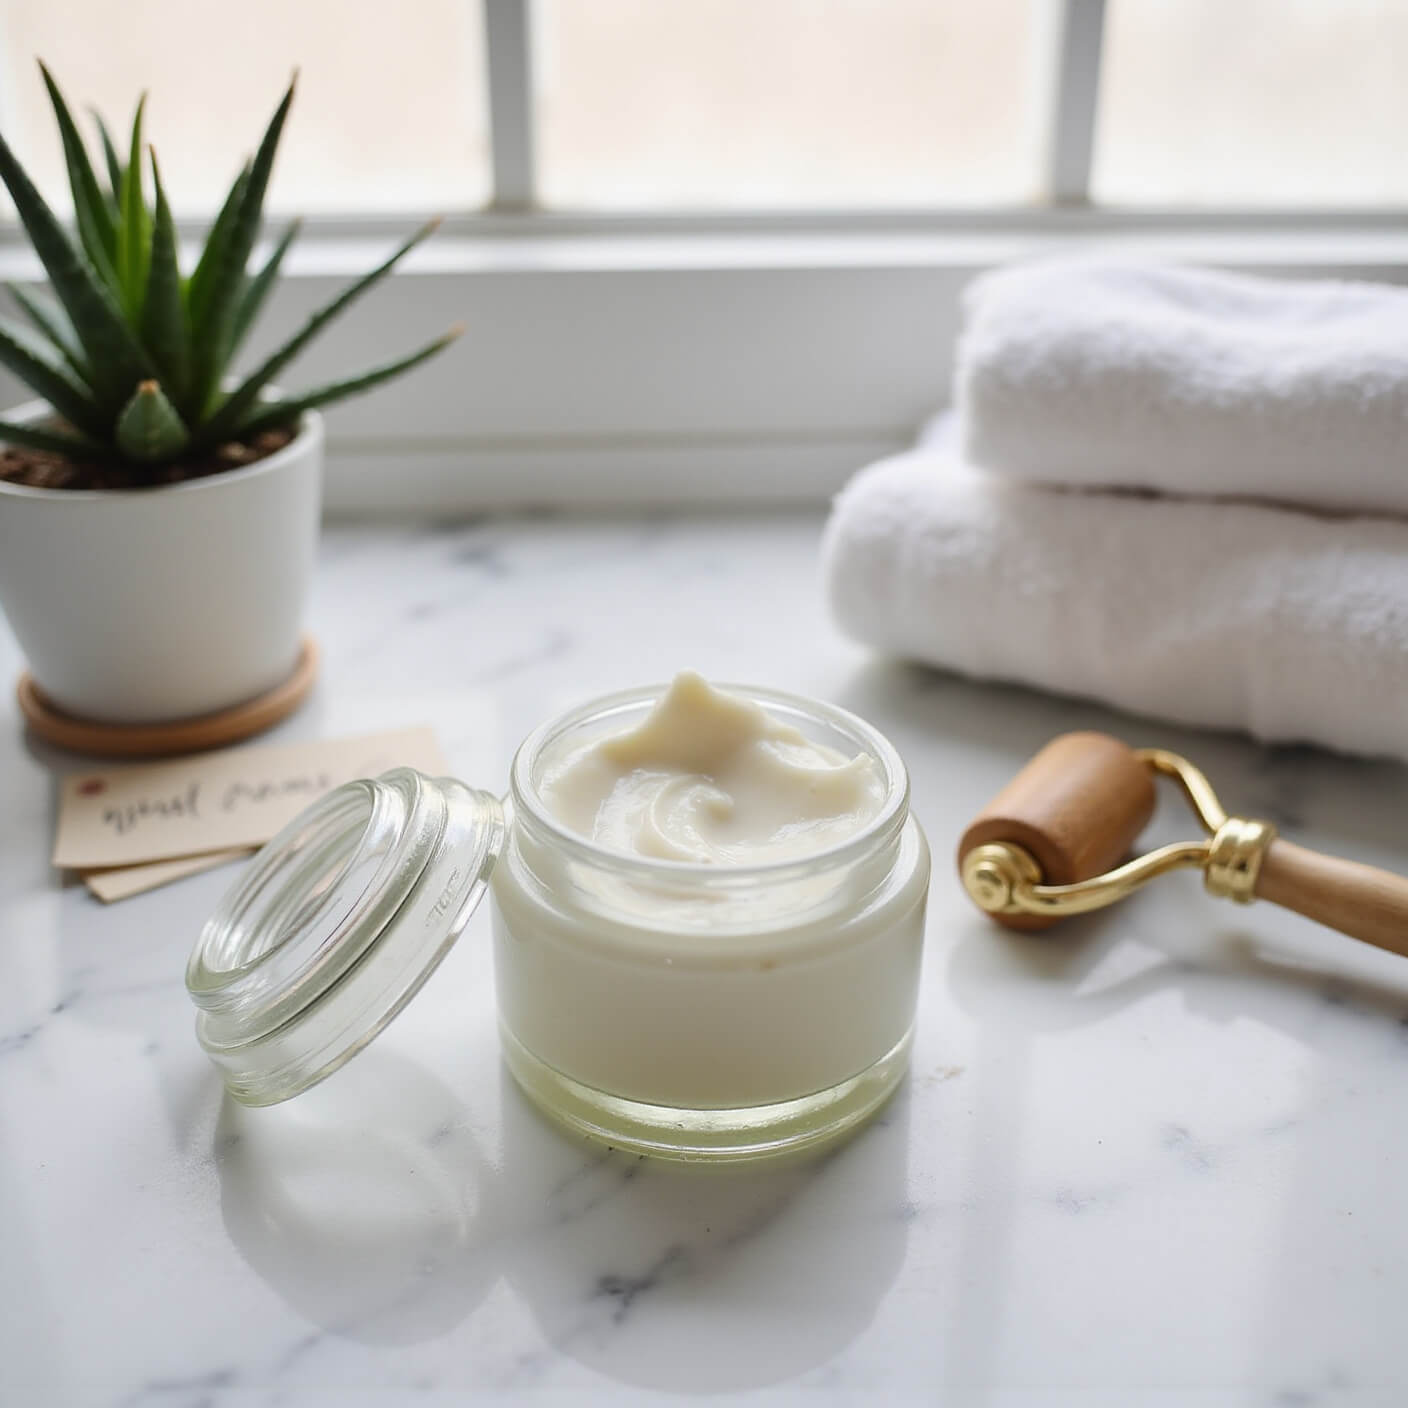
Making your own night cream isn’t just a trendy hobby — it’s a game-changer for your skin’s health and your wallet.
I’ve been obsessed with natural skincare for years, and lemme tell you, homemade night creams are where the real magic happens.

Why Homemade Night Creams Rock
Forget expensive store-bought stuff that’s packed with weird chemicals.
Homemade night creams offer:
- Total ingredient control
- Mega cost savings
- Customized for YOUR skin type
- Zero mystery additives
- Legit self-care ritual
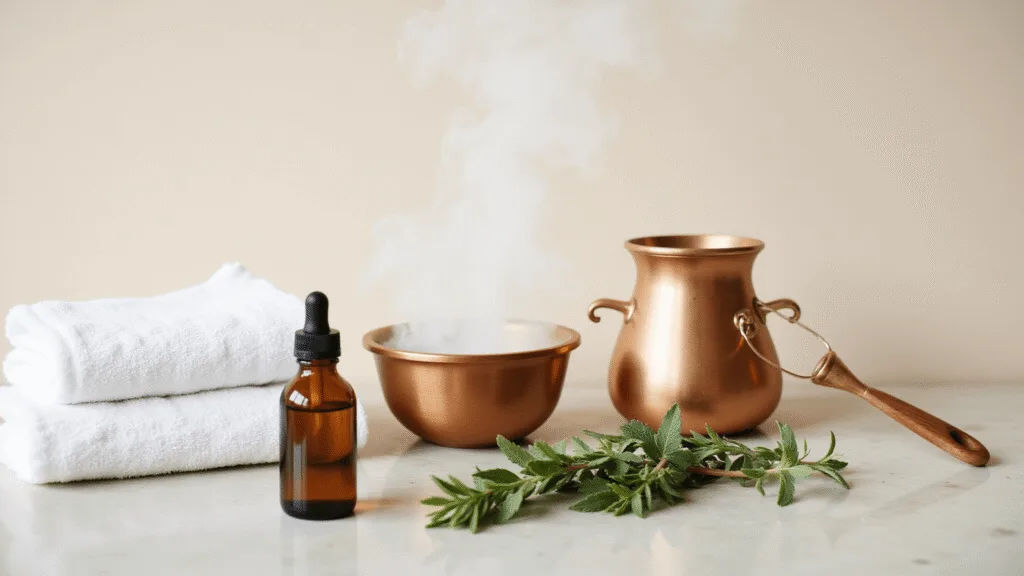
What You’ll Need (Don’t Panic!)
Gathering supplies is easier than you think.
Basic Equipment:
- Double boiler
- Mason jar
- Mixing spoon
- Measuring tools
- Clean workspace
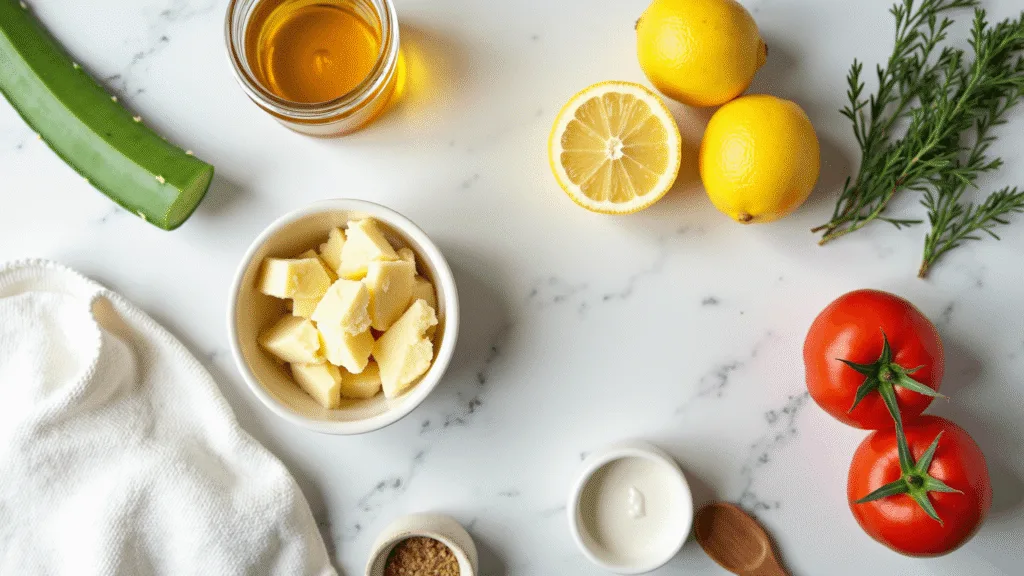
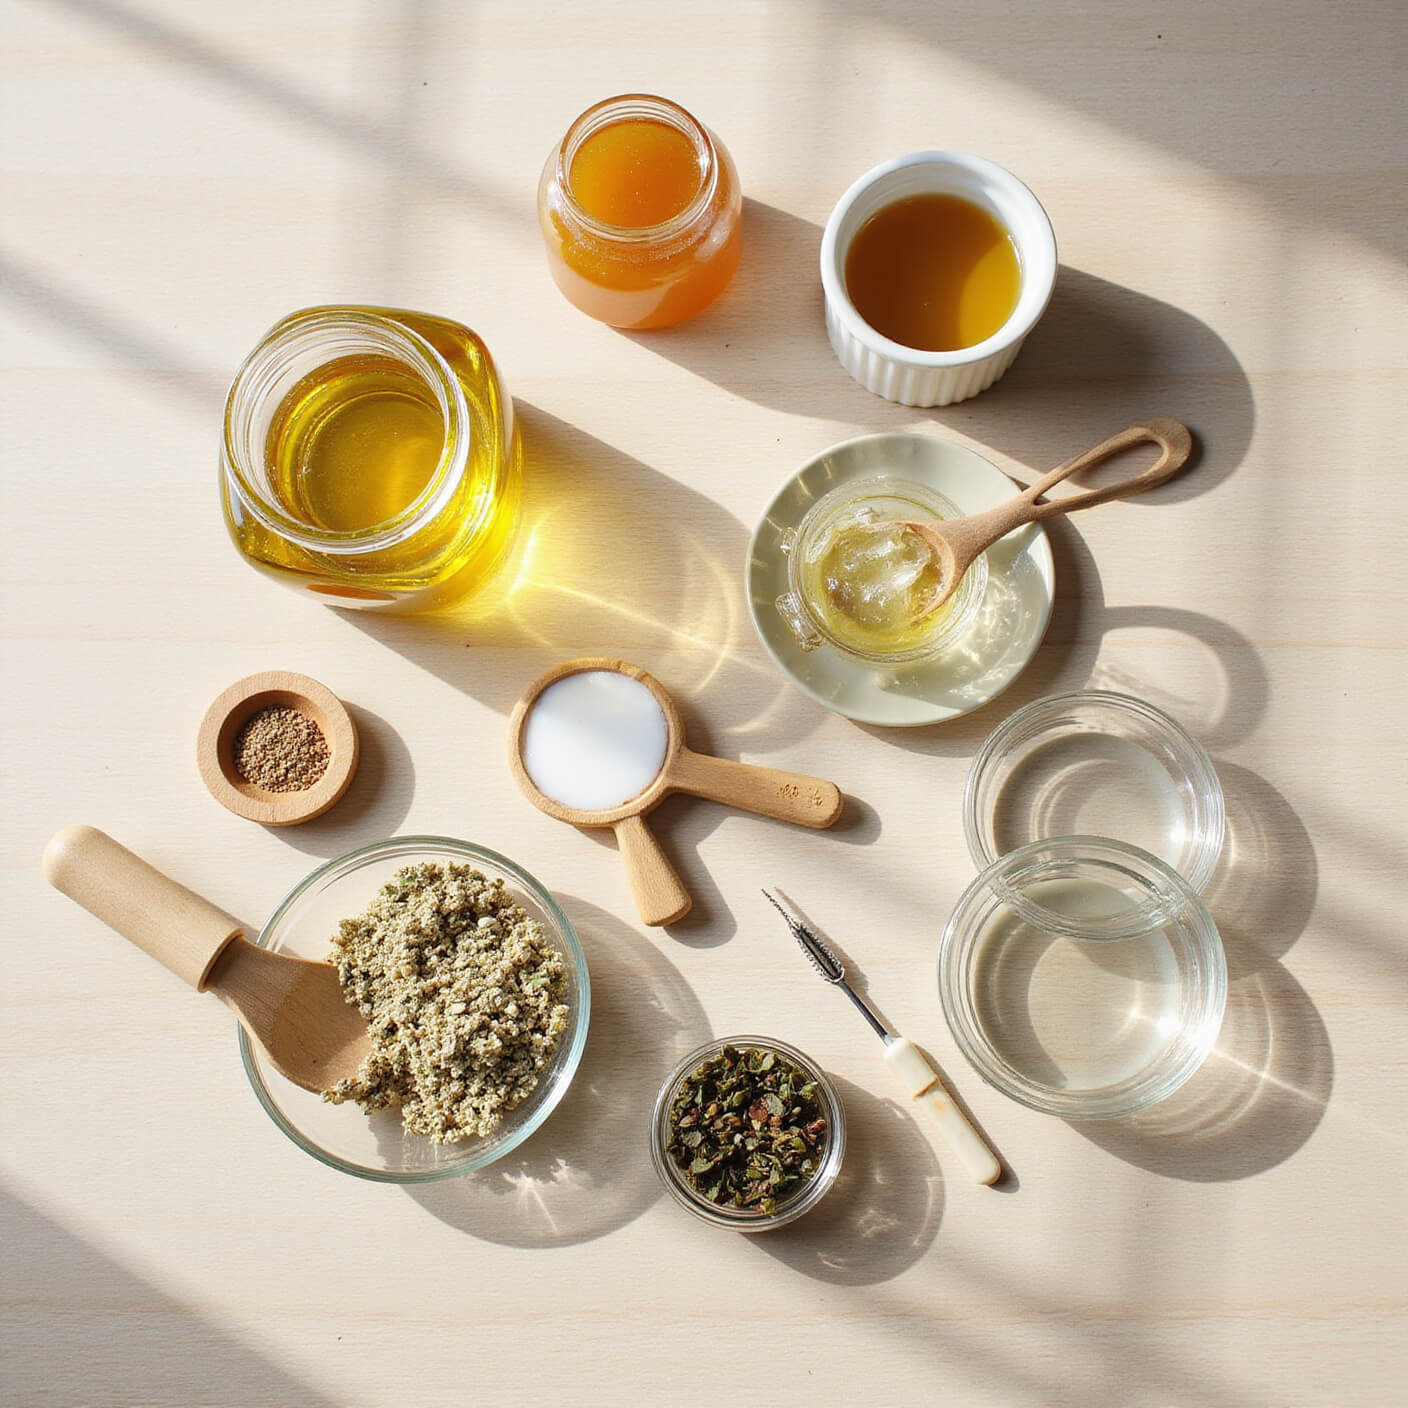
Ingredient Shopping List:
- coconut oil
- Beeswax
- Rosehip oil
- Vitamin E
- Essential oils (optional)

The Super Simple Recipe
Pro tip: This recipe takes just 15 minutes and costs less than $20.
Step-by-Step Night Cream Magic:
- Melt 2 tbsp coconut oil + 1 tbsp beeswax slowly
- Remove from heat, let cool to 40°C
- Whip in 1 tbsp rosehip oil
- Add 5 drops vitamin E
- Optional: 3-4 drops essential oil for scent
Skin Type Customization
Dry Skin: Add avocado oil
Oily Skin: Use jojoba base
Sensitive Skin: Skip essential oils
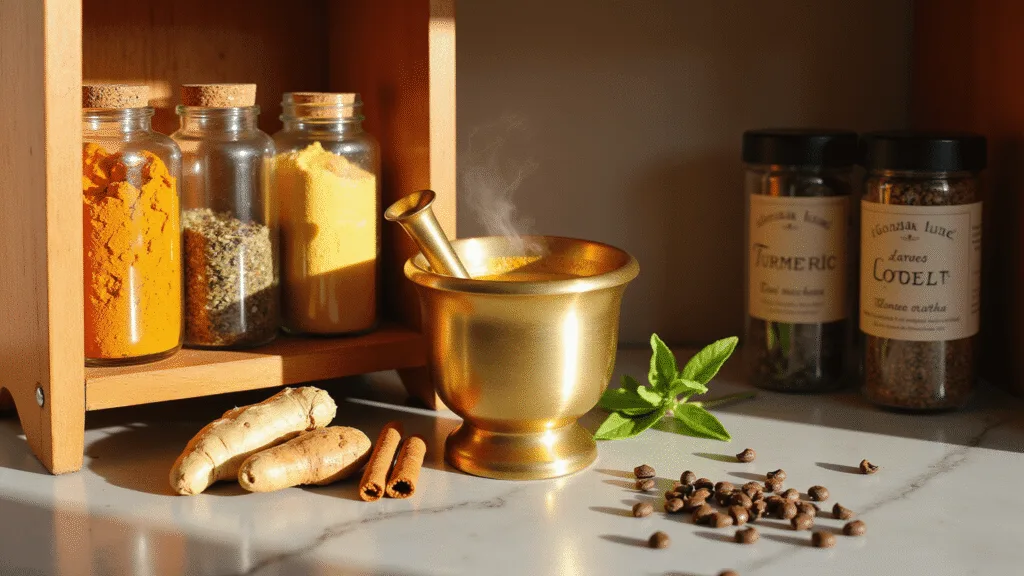
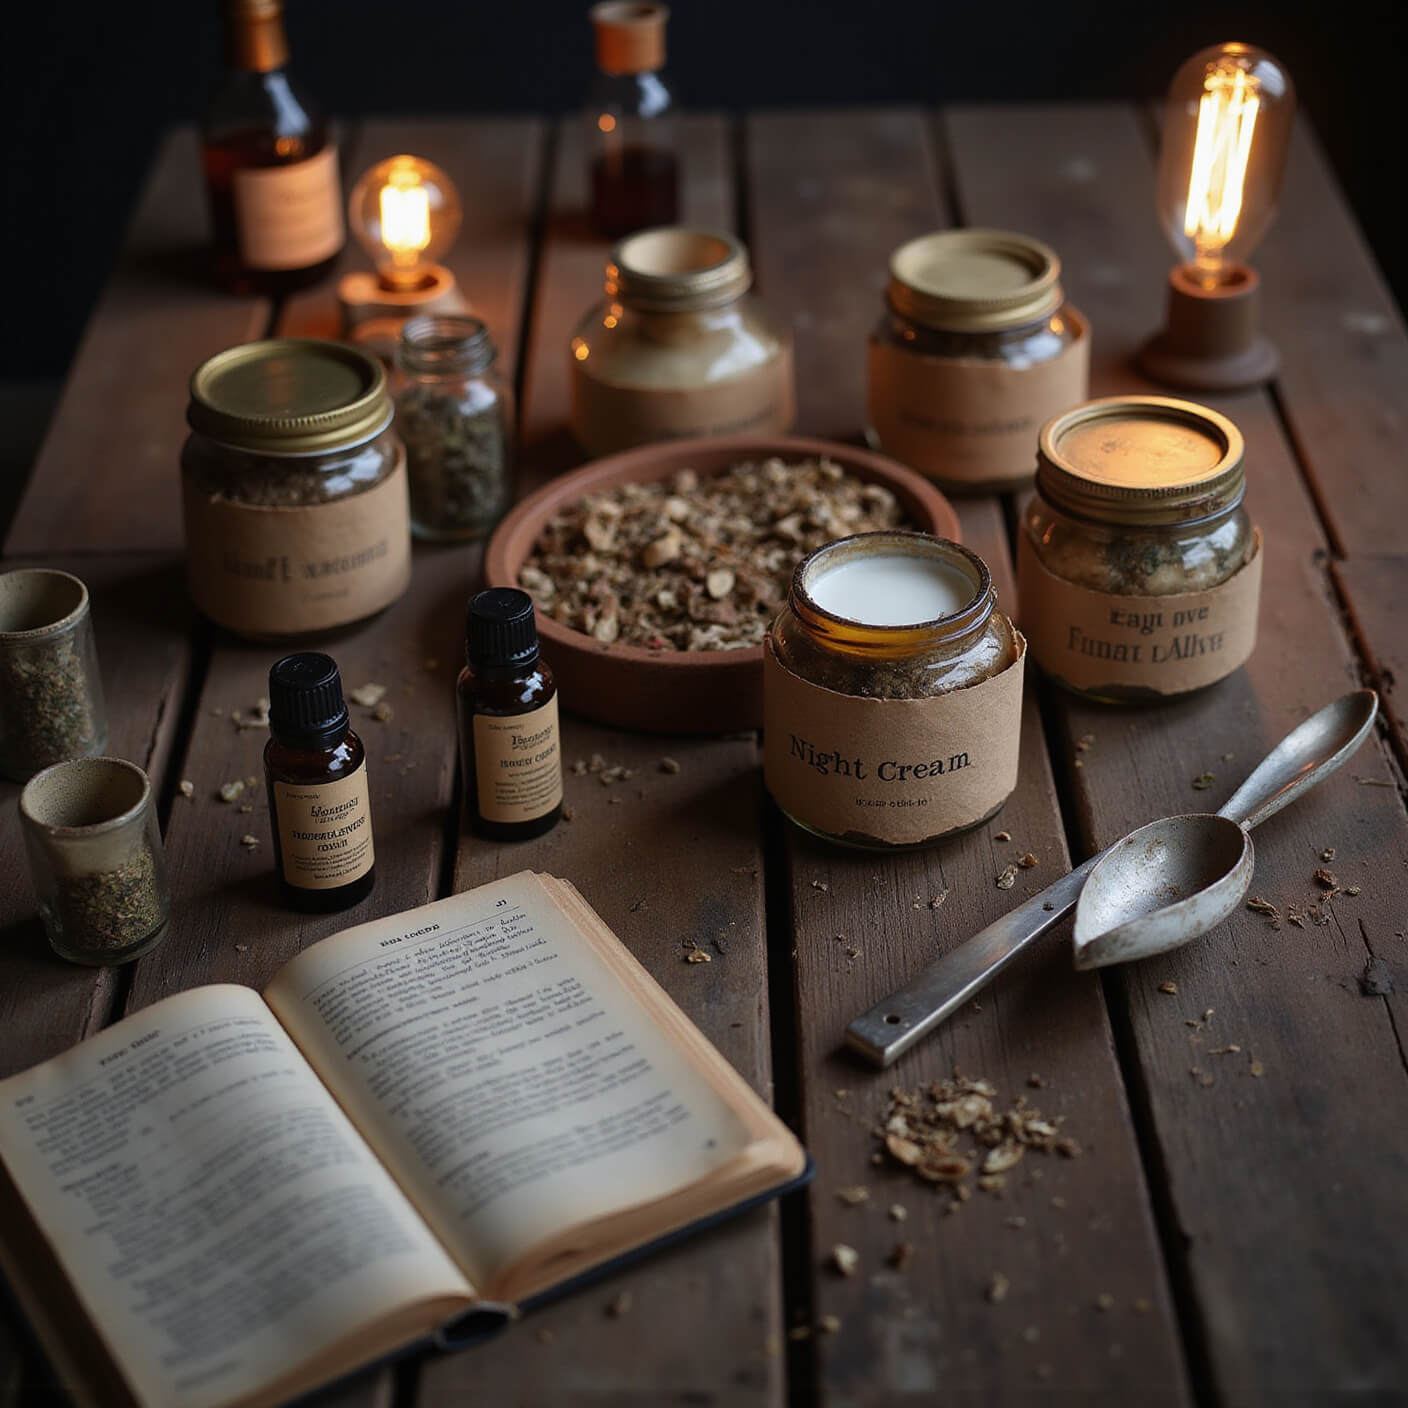
Pro Photography Tips (Bonus!)
Wanna make your creation look Instagram-worthy?
Killer Styling Tricks:
- Use natural wood backgrounds
- Shoot during golden hour (4-6 PM)
- Capture texture with backlighting
- Use soft, neutral color palettes

Common Rookie Mistakes
Watch out for these total fails:
- Overheating oils (bye bye, cream texture!)
- Inconsistent lighting
- Overcrowded ingredient shots
Budget-Friendly Alternatives
No rosehip oil? No problem.
Cheap Ingredient Swaps:
- Almond oil instead of rosehip
- Beeswax pellets work great
- Store in fridge for longer shelf life
Final Thoughts
Creating your own night cream isn’t rocket science.
It’s about connecting with your skin, understanding its needs, and giving yourself some serious self-love.
Start simple, experiment, and watch your skin transform.
Disclaimer: Always patch test new ingredients and consult a dermatologist if you have sensitive skin.
Happy creating, skincare warriors! 💪🌿
A night cream works by hydrating, not by promise. Pick a plain one you’ll use nightly. Consistent moisture beats the expensive label.