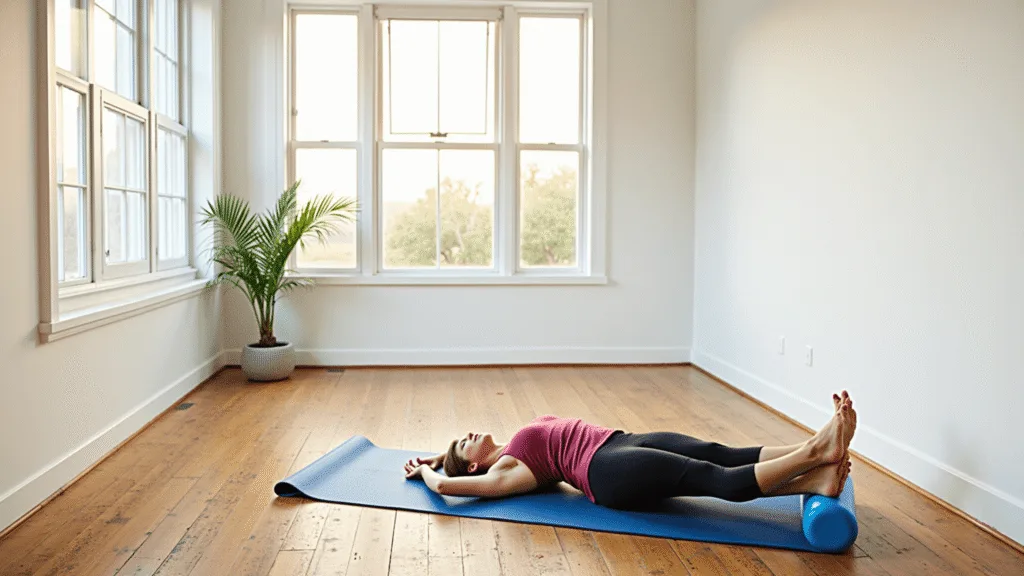
Hip pain from desk days eased once I rolled slowly instead of stretching hard. The pressure released what stretching couldn’t reach. A few minutes beat a long session I’d skip. Soreness meant I was in the right spot.
foam roller Exercises: Your Ultimate Guide to Hip Pain Relief
Look, hip pain can totally mess up your entire day.
I know exactly how frustrating tight, achy hips can be — whether you’re sitting at a desk all day or crushing intense workouts.
Today, I’m gonna break down some killer foam roller techniques that’ll give you serious hip relief and get you moving like a champ.
Why Your Hips Are Probably Screaming for Help
Our bodies weren’t designed to sit for 8-10 hours everyday.
Modern lifestyles have basically turned our hip muscles into tight, angry little knots of tension.
Quick Hip Pain Facts:
- Sitting destroys hip mobility
- Desk jobs are basically hip pain factories
- Most people ignore warning signs until real damage happens

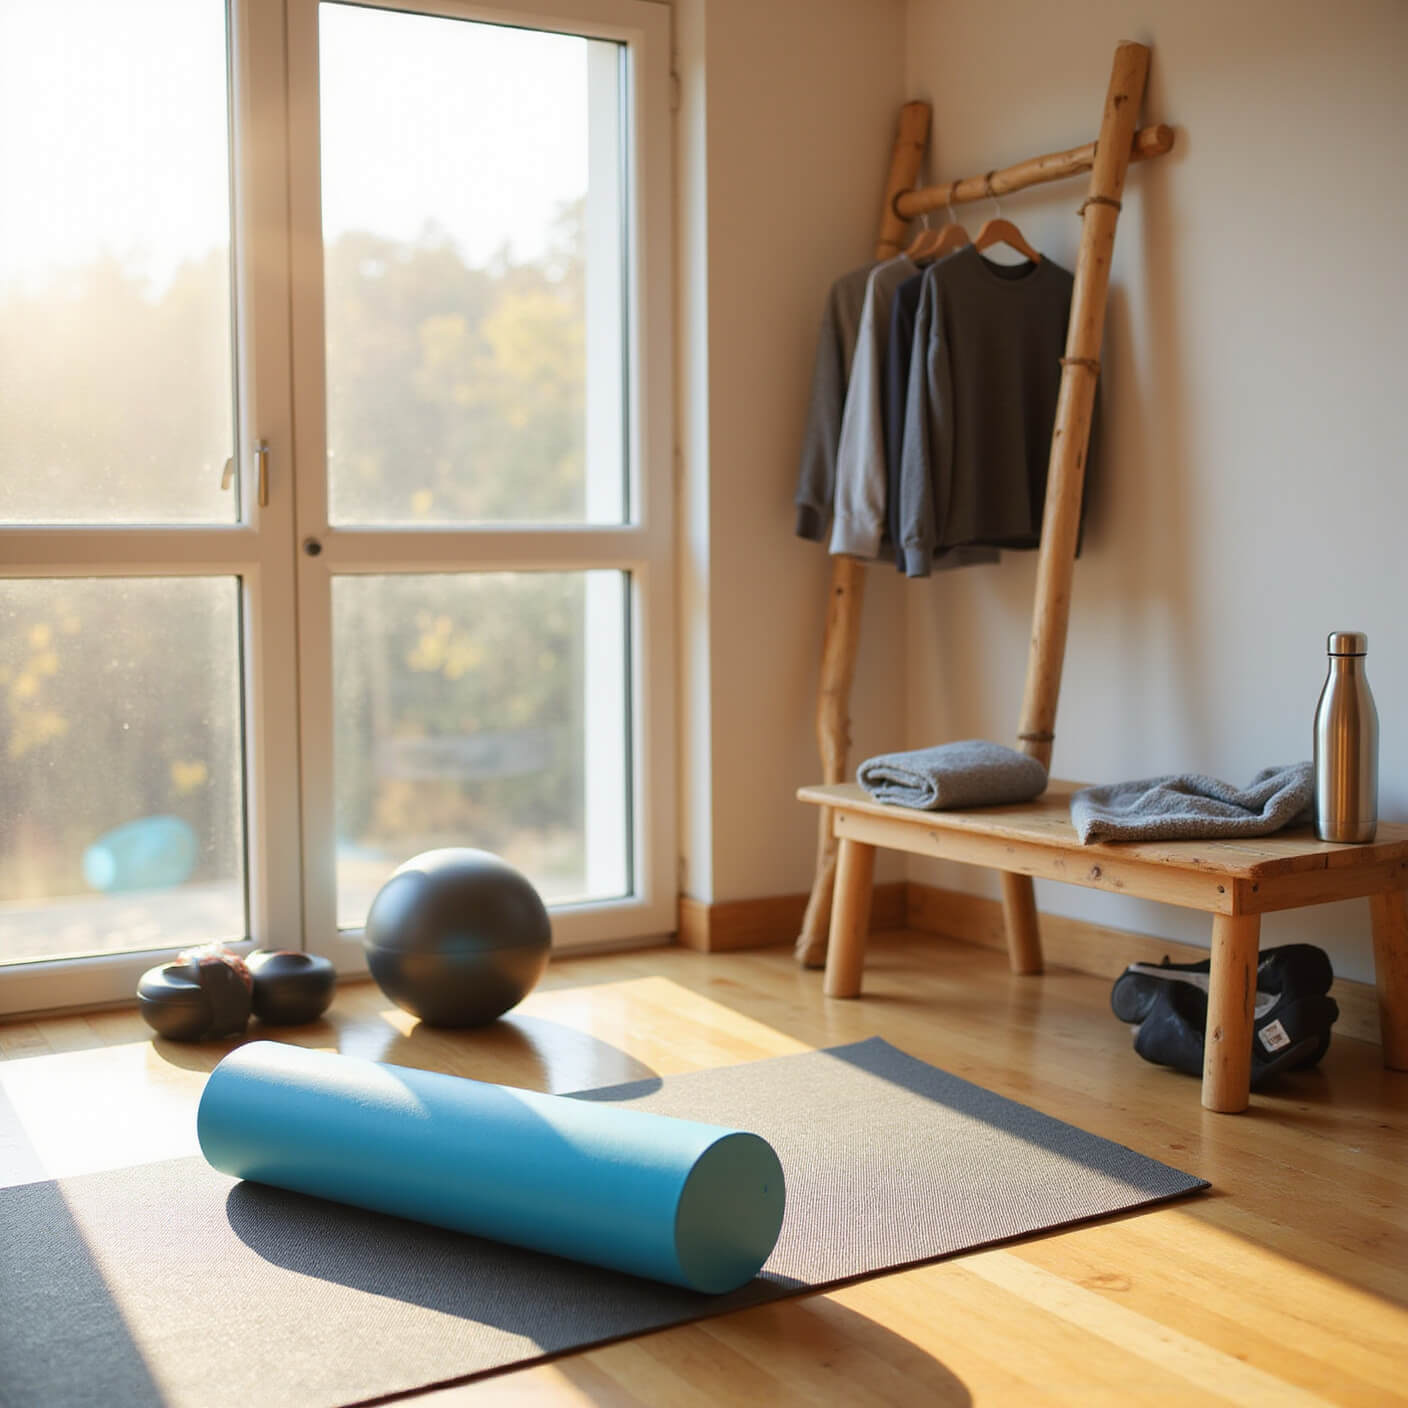
Essential Gear You’ll Need
Grab these before we start:
- A foam roller (budget $20-$50)
- Yoga mat
- 10-30 minutes of your time
- Willingness to feel some serious muscle release

4 Game-Changing Foam Roller Exercises
1. Upper-Outer Hip Release
How to Do It:
- Place foam roller under upper-outer hip
- Roll slowly, finding those tight spots
- Hold for 30 seconds when you hit tension
- Breathe deeply and let muscles unwind
2. Piriformis Muscle Magic
Positioning Matters:
- Sit sideways on roller
- Cross right ankle over left knee
- Lean into the side with pressure
- Roll until you feel that sweet muscle release
3. Hip Flexor Freedom
Pro Technique:
- Lie face down
- Position roller under hip flexor area
- Roll from knee to hip
- Pause at tender spots for 30-90 seconds
- Let those muscles go SOFT
4. IT Band & Inner Thigh Rescue
Double-Duty Movement:
- Roll along IT band side
- Shift to inner thigh muscles
- Move slowly
- Breathe through any discomfort
Common Mistakes to Avoid
Rookie Errors:
- Rolling too fast
- Holding your breath
- Ignoring sharp pain
- Skipping consistency
How Often Should You Do This?
Recommended Schedule:
- Beginners: 2-3 times per week
- Advanced: Daily for 10-15 minutes
- Listen to ur body — it knows best
Pro Tips for Maximum Results
- Stay hydrated
- Stretch after rolling
- Wear comfortable clothes
- Start gentle, then increase pressure
When to See a Professional
Red Flags:
- Persistent sharp pain
- Numbness
- Pain that doesn’t improve
- Limited mobility after 2-3 weeks of consistent work
Final Thoughts
Foam rolling isn’t just a trend — it’s legit physical therapy you can do at home.
Your hips will thank you for taking the time to show them some love.
Consistency is key. Start slow, be patient with yourself, and watch how much better you’ll feel.
Quick Disclaimer: Always consult a healthcare professional if you have existing injuries or chronic pain.
Ready to kick hip pain to the curb? Let’s do this! 💪
A foam roller releases hip tightness better than forcing a stretch. Slow, short sessions beat long ones. Stop if it spikes sharp pain.